Do you remember the classic childhood story of Hansel and Gretel? 🍬 The moment they wandered deep into the forest and found that strange little house, it always felt magical. Isn’t it?
Maybe you pictured it too. The roof was covered in sticky icing, the walls looked like crunchy biscuits, and the windows shone like candy glass. It is funny how this place does not just look sweet. It also feels like it has texture you can almost imagine touching.
That is what we are exploring today! ✨
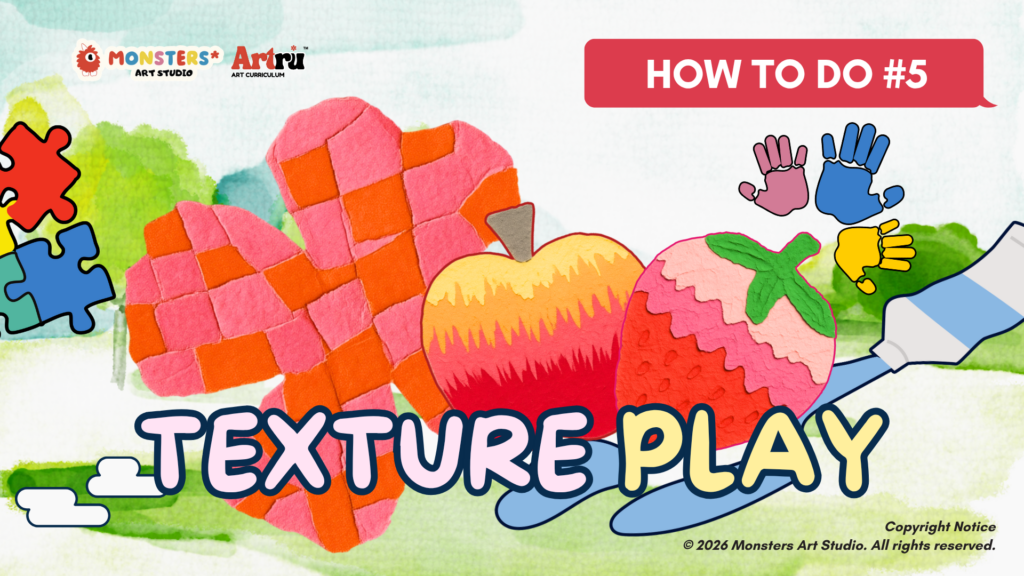
Today we are going to learn one of the 7 main elements of art, which is texture. Texture Play is a fun way of creating and exploring art by thinking about how things feel. Some surfaces feel smooth like glass, while others feel rough like sandpaper. Certain materials feel soft like cotton, hard like stone, bumpy like bubbles or shiny like sparkles.
In artworks and paintings, artists use texture to make their work more interesting and realistic. It helps art feel alive with emotion and depth, not just flat shapes and colors. For example, Vincent van Gogh used thick brush strokes to create movement and energy in his paintings. When you look closely, the paint almost feels touchable.
Parents and children can also enjoy texture play together. This simple activity supports bonding, creativity, and early sensory and motor development at home. 🤍🤍
So… shall we start? Let us begin our Texture Play! 🌟
LEARNING OUTCOMES:
By the end of this lesson, children will be able to:
- Experiment with different types of textures in art.
- Use different materials to create texture in their artwork.
- Develop fine motor skills through hands-on texture art activities.
- Express imagination and ideas through creative texture-based artwork.
MATERIALS NEEDED:
Colour Papers, Glue, Scissor, Markers, Soft Clay
Safety Tip: Please use scissors carefully, keep art materials away from your mouth and eyes, work neatly, wash your hands after the activity, and always ask for help if needed.
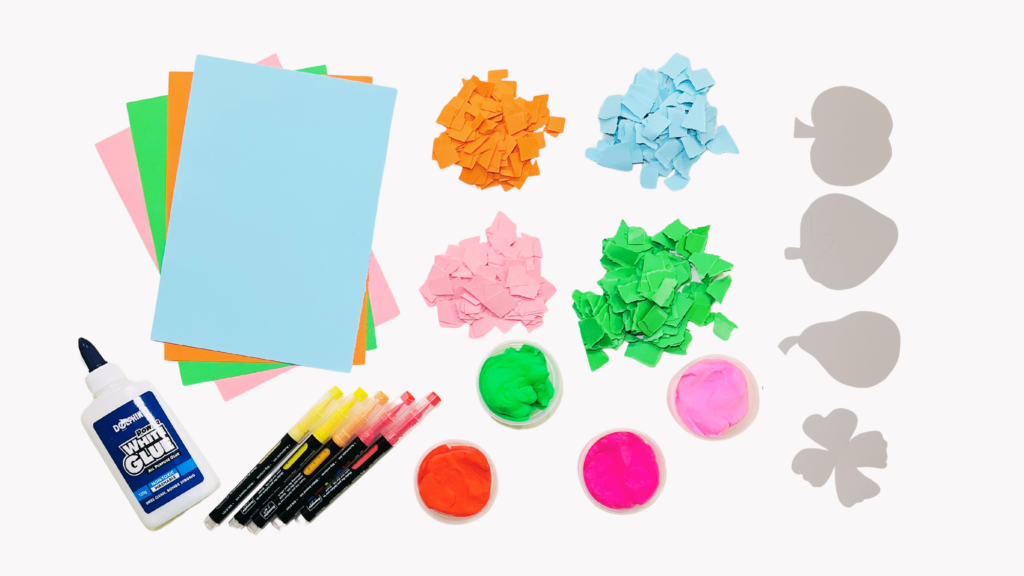
STEP 1
Start with the first layer by creating your background using collage papers, draw extra details with markers or add soft clay pieces to build texture and make your artwork more creative and interesting.
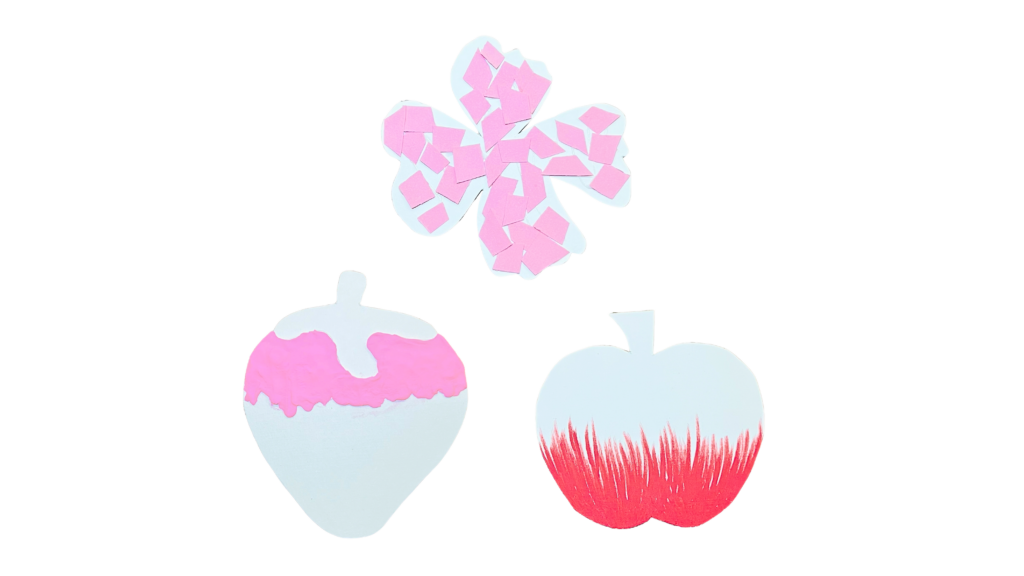
STEP 2
Fill in the second layer by adding more collage papers, drawings or soft clay details to create depth, texture and make your artwork look fuller and more colorful.
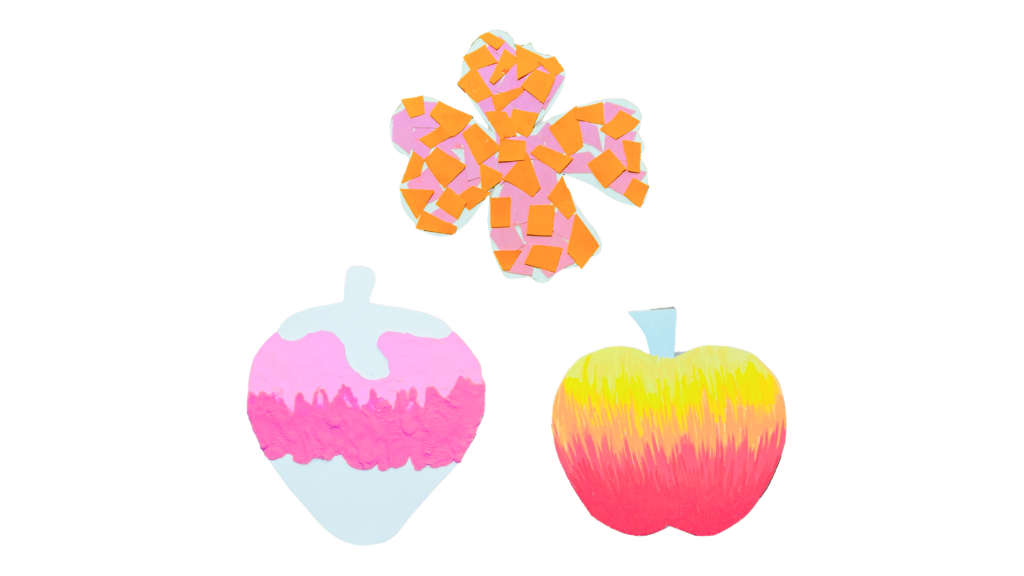
STEP 3
Finish the third layer by adding final details, highlights, patterns and extra clay textures to complete your artwork and make it stand out beautifully.
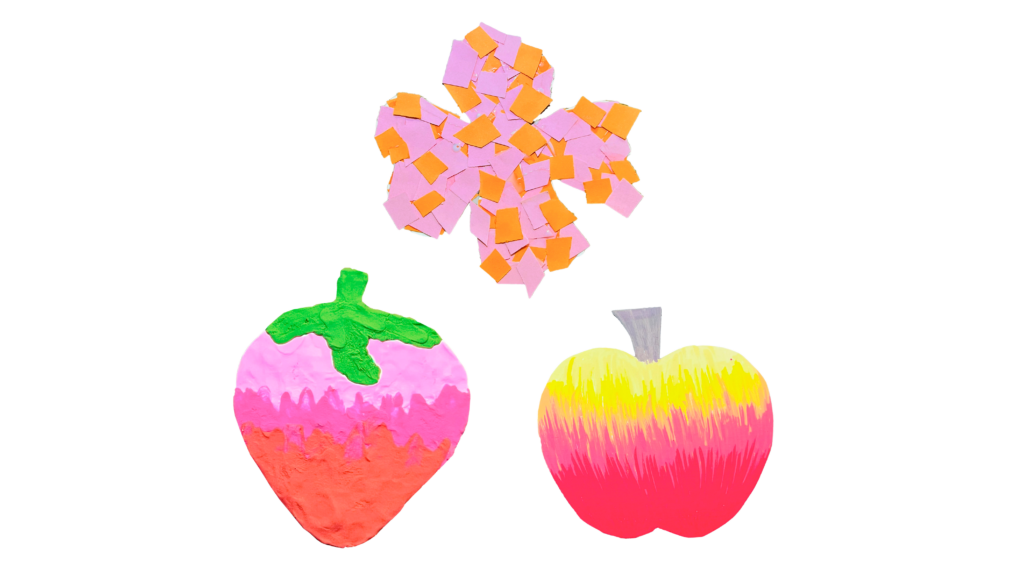
STEP 4
Add some final details and decorations to your artwork, then leave it to dry completely before displaying it.
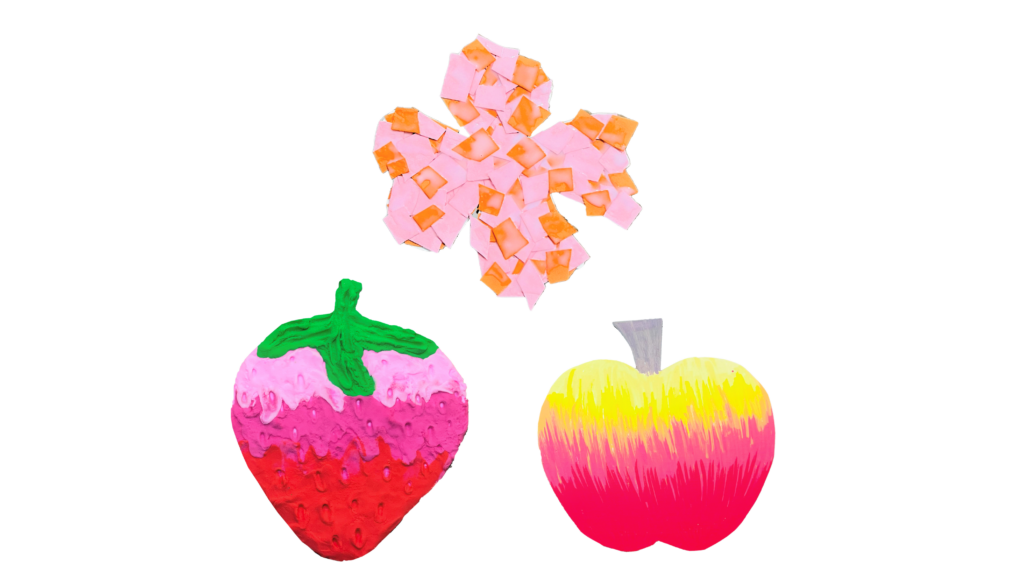
THIS ATE! 🔥 TEXTURE CHECK = PASSED!!
How would you describe the different textures in your artwork? Are they rough, smooth, soft, bumpy, or fluffy? Texture art is super fun to explore, and we encourage you to try using even more materials to discover new creative effects! 🌈
Here are some example craft artworks you can try next for more inspiration. Why not share your masterpiece with us too? We’d love to see your creative work and feature it in our community gallery! 🎨💌